Green Garlic Panisse
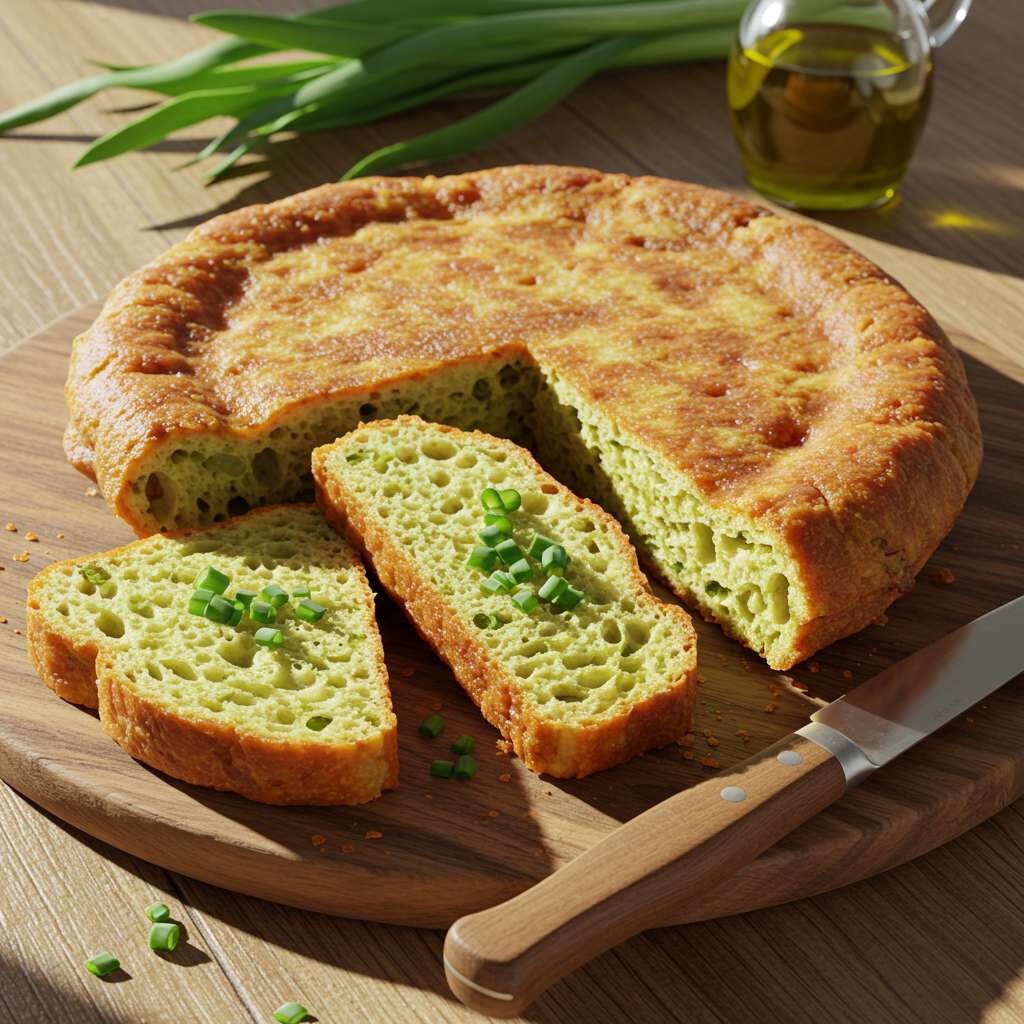
Ever tried a dish so silky on the inside and crisp on the outside that it feels like a little culinary magic trick? That’s exactly what Green Garlic Panisse delivers. These chickpea flour fries infused with delicate green garlic are a French-inspired snack that’s equal parts comforting and elegant.
I first fell in love with panisse while exploring Provençal recipes, but adding green garlic gave it a fresh twist that’s perfect for spring. These crispy little bites are fantastic as an appetizer, snack, or paired with your favorite dipping sauce for a party-ready treat.
Why You’ll Love This Green Garlic Panisse
- Crispy & Creamy: The golden crust gives way to a soft, creamy interior for a perfect bite.
- Easy to Make: The recipe is surprisingly simple, and most of the work happens in the fridge and oven.
- Unique Flavor: Green garlic brings a mild, fresh garlic note that elevates the dish.
- Versatile: Enjoy it as a snack, appetizer, or even a side dish for your favorite meal.
How to Make It
Making Green Garlic Panisse is a process that’s as satisfying as the result. It starts with cooking chickpea flour into a rich, creamy batter. Think of it as a savory version of polenta but made with chickpea flour instead of cornmeal.
To begin, you’ll whisk chickpea flour, water, olive oil, and salt in a saucepan until the mixture is smooth and free of lumps. This step is crucial because it sets the stage for the velvety texture of your panisse. Once combined, you’ll cook the mixture over medium heat, stirring constantly. As it heats, the batter thickens and transforms into a glossy, dough-like consistency. Adding finely chopped green garlic at this stage infuses the batter with its mild, fresh flavor.
Once the batter reaches the perfect thickness, it’s transferred to a greased baking dish. Spread it evenly to create a uniform layer, and then smooth the surface with a spatula. The batter needs to chill in the refrigerator for at least 2 hours, though overnight is even better for firming it up completely.
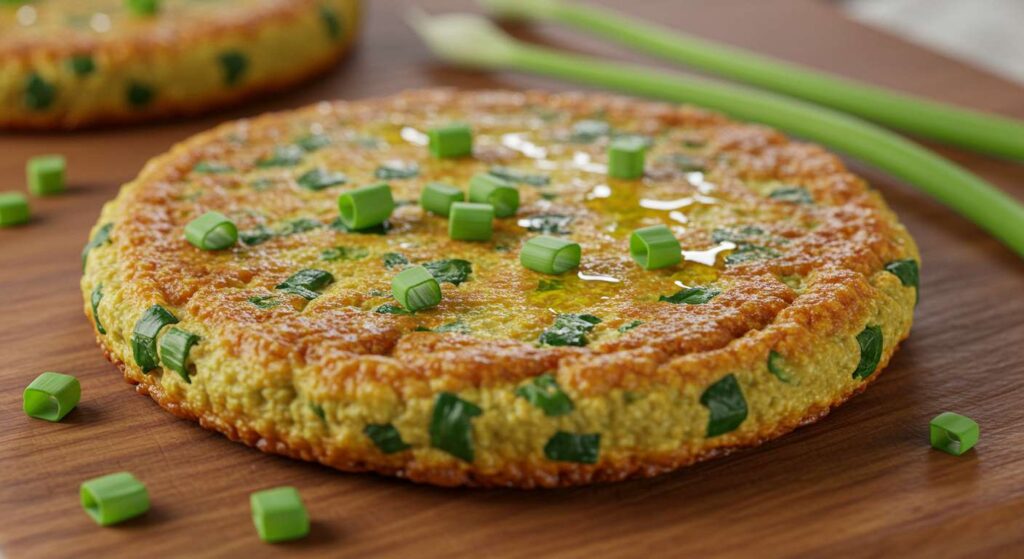
After chilling, the fun begins. The batter is cut into slices, sticks, or rounds—whatever shape suits your fancy. You can fry these pieces in olive oil for a golden, crispy finish or bake them for a lighter version. Either way, the contrast between the crunchy exterior and creamy interior is pure bliss. Serve them fresh out of the pan or oven, sprinkled with flaky salt or herbs, and watch them disappear in no time!
Make Ahead Method
One of the best things about Green Garlic Panisse is how well it fits into a busy schedule. You can break the process into steps to save time and make entertaining a breeze.
- Prepare the batter ahead of time: Cook the chickpea flour mixture and let it chill in the fridge up to 2 days in advance. This is perfect for planning a dinner party or getting ahead on meal prep.
- Shape when ready: Leave the firmed-up batter in the baking dish until you’re ready to fry or bake. You can slice it into your desired shapes just before cooking, ensuring the freshest texture.
- Fry or bake at the last minute: While the batter can be made ahead, panisse tastes best when it’s freshly crisped. Cook it right before serving to retain that irresistible crunch.
If you’re prepping for a party, consider slicing the batter in advance, storing the pieces in a single layer separated by parchment paper, and frying or baking them just before your guests arrive. This way, you can serve them warm without much last-minute fuss.
Pro Tips
- Use fresh green garlic: Look for green garlic at farmers’ markets or specialty stores during spring. If unavailable, substitute with garlic chives or regular garlic, but use sparingly to avoid overpowering the dish.
- Get the texture right: Stir the batter constantly while cooking to prevent lumps and achieve a smooth consistency.
- Keep it chilled: Ensure the batter is completely firm before slicing; this makes frying or baking easier and cleaner.
- Serve immediately: Panisse is best enjoyed hot and crispy right out of the pan or oven.
Storage Options
- Fridge: Store cooked panisse in an airtight container for up to 2 days. Reheat in the oven or air fryer for crispness.
- Freezer: While the uncooked batter can be frozen for up to 1 month, cooked panisse doesn’t freeze well due to texture changes.
Tools for This Recipe
- Medium Saucepan: For cooking the chickpea flour batter.
- Whisk: Essential for ensuring a lump-free batter.
- Baking Dish: Use a square or rectangular dish to chill the batter evenly.
- Sharp Knife: For slicing the firm batter into uniform pieces.
- Nonstick Skillet or Baking Sheet: Depending on whether you’re frying or baking the panisse.
FAQs
Q: Can I make this without green garlic?
A: Absolutely! You can use regular garlic or even leeks for a slightly different flavor profile.
Q: Can I bake instead of fry?
A: Yes, bake the slices on a greased baking sheet at 425°F (220°C) for about 20 minutes, flipping halfway through.
Q: What dipping sauces pair well with panisse?
A: Aioli, marinara, or even a herbed yogurt sauce work wonderfully.
Variations and Substitutions
- Herb It Up: Add fresh rosemary, thyme, or parsley for extra flavor.
- Spice It Up: Mix in a pinch of smoked paprika or chili flakes to the batter for a kick.
- Cheesy Twist: Sprinkle grated Parmesan or Pecorino Romano on top after frying.
- Gluten-Free Note: Panisse is naturally gluten-free, making it a great option for those with dietary restrictions.
A Bite-Sized Delight
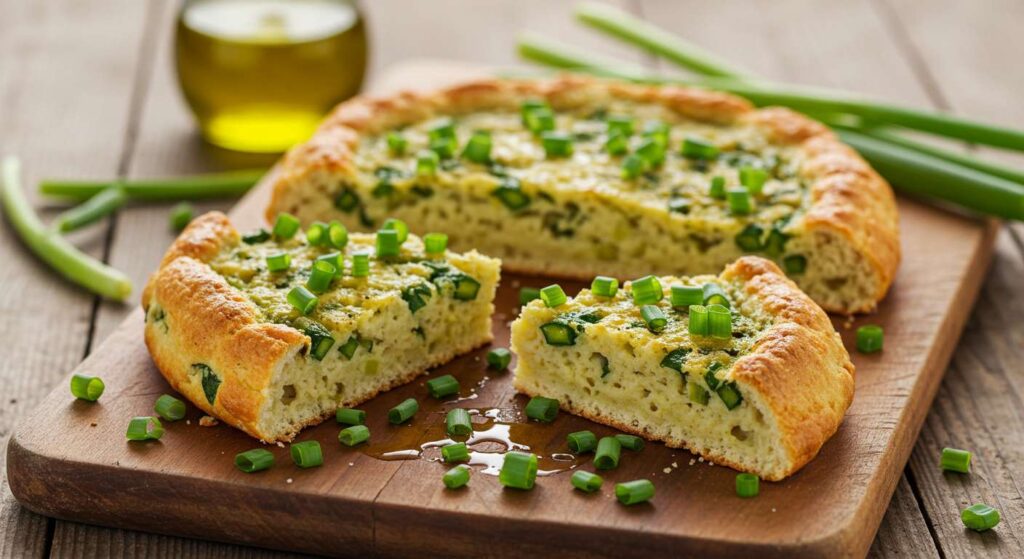
Green Garlic Panisse is proof that simple ingredients can create something extraordinary. Whether you’re hosting a gathering or indulging in a cozy night at home, these crispy bites are sure to please. I’d love to hear your thoughts! Did you try any fun twists or toppings? Share your experience in the comments below.
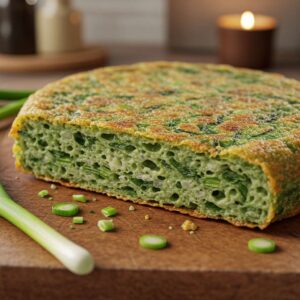
Green Garlic Panisse
Ingredients
- 2 cups chickpea flour
- 4 cups water
- 2 tablespoons olive oil plus extra for frying
- 1 teaspoon salt
- 1/4 cup finely chopped green garlic
Instructions
- In a medium saucepan, whisk chickpea flour, water, olive oil, and salt until smooth.
- Cook over medium heat, stirring constantly, until the batter thickens into a smooth paste, about 8–10 minutes.
- Stir in the green garlic and mix well.
- Pour the mixture into a greased baking dish, smoothing the top. Chill in the fridge for at least 2 hours or until firm.
- Slice the chilled batter into sticks or rounds.
- Heat olive oil in a skillet over medium heat and fry the slices until golden and crispy, about 2–3 minutes per side. Alternatively, bake at 425°F (220°C) for 20 minutes, flipping halfway through.
- Serve warm with your favorite dipping sauce.


